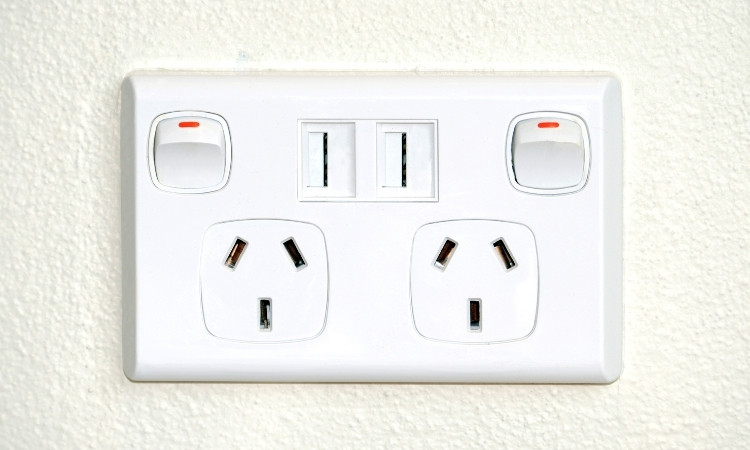
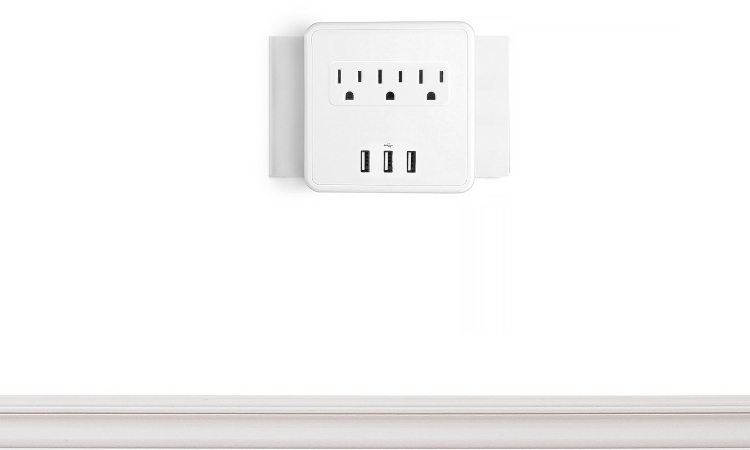
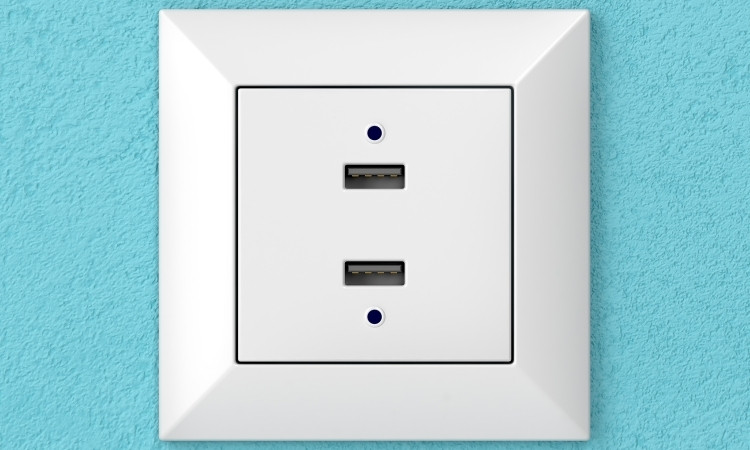
Urgently need to charge your phone but can’t find the adapter? It’s common for most of us, but don’t fret. With the USB wall outlet, you can charge your phone directly. Just plug your USB into the wall and forget about the adapter.
But how do you install a USB wall outlet in Singapore? We’ll teach you how to do that step by step in this article so you can do it at home without needing any professional help. LS Electrician Services Singapore explains how to install USB Wall Outlets in Singapore.
It is important to note that their professional house re-wiring, power failure troubleshooting, and lighting protection system need no introduction in Singapore.
Why Install USB Wall Outlets In Singapore?
Many of you may wonder why installing USB wall outlets in Singapore is a must-do. Well, it’s because of these reasons:
- You won’t need to search for charging adapters anymore.
- It helps reduce cable clutter and mess.
- Lets you charge multiple devices at the same time.
- Useful for people with too many phones and devices.
- Elegant and clean home appearance.
- Helps guests easily charge their phones.
- Adds a smart, valuable upgrade to your home.
- Offers faster charging than old-style adapters.
How to Install a USB Wall Outlet in Singapore? – Step-By-Step Guide
Installing a USB wall outlet in Singapore is easy. Just follow these steps as they’re mentioned, without skipping any.
Needed Things:
Must have these before you dive into the USB wall outlet installation:
- USB wall outlet (compatible with Singapore voltage)
- Screwdriver
- Voltage tester
- Wire stripper
- Electrical tape
- Wall plate (if your new outlet doesn’t come with one)
- Insulated gloves
- Flashlight (optional but handy)
Have these things all set with you, and then start with these steps to install a USB wall outlet in Singapore:
Turn Off the Power
The first step that you can’t even think of skipping is turning off the power in the room through the circuit breaker you’re working on. After turning it off, don’t just assume it’s off. To be extra sure, you can perform a voltage test to check the voltage and make 100% sure it’s off.
If you don’t do this, you could get an electrical shock that could be deadly. For that reason, spend some time on this step.
Take Off the Old Outlet Cover
Head over to the old outlet that you want to install the USB outlet in. When you’re there, take a screwdriver, and remove the screws holding the outlet cover in place. Once the plate is off, unscrew the actual outlet from the wall box. Don’t be too hard on pulling, so you may not damage any wires that might be snug in there.
Check and Label the Wires
You’ll usually see a few wires — black (live), white (neutral), and green or bare copper (ground). If you’re new to this, label each one with tape so you remember where it goes. The professionals usually don’t have to spend time on this step as they’re very well aware of all the wires.
But for the people doing it for the first time, they may get confused about what wire to put where. For that reason, labeling the wires will help you avoid confusion later on and will help you complete the process faster.
Disconnect the Old Outlet and Prep the Wires
After that, carefully disconnect all the wires from the old outlet. If they’re screwed in, which they are most of the time, then you can use a screwdriver to unscrew them. If they’re pushed in, then push them out carefully.
When the wires are out of the outlet, take a wire stripper to clean up the wire ends if they’re rough or bent. You want clean copper exposed so the new outlet has a solid connection.
Connect the New USB Wall Outlet
Get the new USB outlet now, and then match the wire to the terminal on it. Remember, you labeled some wires at first? This is the time they’ll work for you. Keep them in front of you and then connect the black to the live, white to neutral, and green/bare to the ground.
Use the screws to secure them tightly — loose wires can be dangerous. Once it’s all wired up, gently push the outlet back into the wall box and screw it in place.
Screw On the Wall Plate and Power It Up
Put the wall plate back on and make sure it’s flush and secure. Then head back to your circuit breaker and turn the power back on. Grab a USB cable and plug in your phone or any device to test if everything works. If your device charges right away — congrats, you nailed it!
Final Words
How to install a USB wall outlet in Singapore? To install a USB wall outlet in Singapore, turn off the power at the circuit breaker, remove the old outlet cover, and unscrew the existing outlet. Check and label the wires, then gently pull them out to get them ready for the new installation.
Furthermore, disconnect the old outlet, strip and clean the wire ends if needed, and connect them to the new USB outlet. Push it back into the wall, screw it in place, install the wall plate, and turn the power back on to test.