Have you ever asked yourself how you can make your kitchen instantly look better without a big renovation? One of the most efficient yet easy ways is to install under-cabinet lighting. Whether you are cooking, reading cookbooks, or simply having a late-night snack, under-cabinet lighting makes your kitchen not only brighter but also more stylish.
In this guide, we will show you how to install under-cabinet lighting in the kitchen easily, with the help of basic tooling and simple instructions suitable for homeowners in Singapore. Moreover, LS Electrician Servicing Singapore’s detailed process is a guide on this matter. Let’s also not forget their efficient services in distribution box installation, power failure troubleshooting, and switch installation domains.
Why Install Under-Cabinet Lighting?
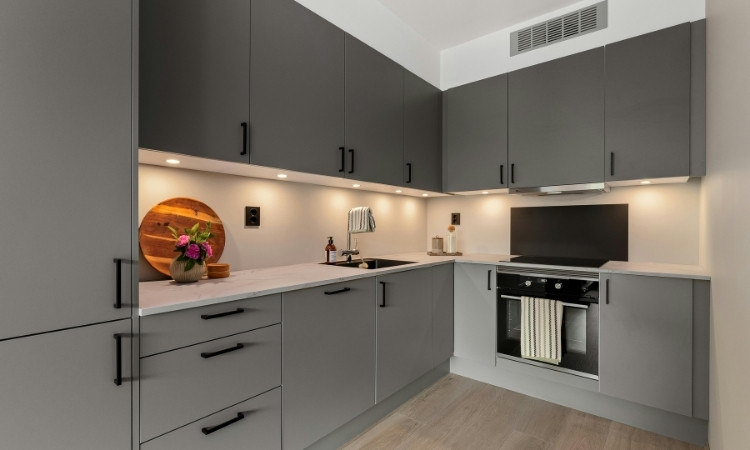
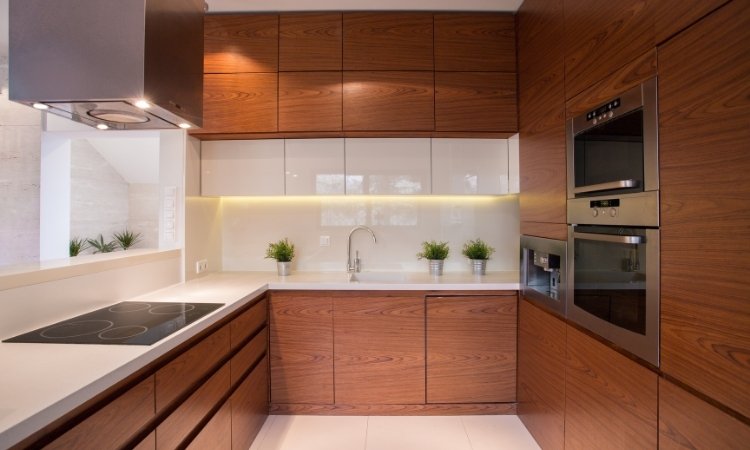
Under-cabinet lights make your kitchen not only stylish but also practical. It lights up countertops and makes food preparation much easier and safer. This lighting in Singapore, where kitchens are usually small, optimizes space and gives the kitchen a welcoming feel. Plus, it’s energy-efficient and can boost your home’s value.
Types of Under-Cabinet Lighting
Prior to knowing how to install under-cabinet lighting, you will have to determine the kind that best fits your space and requirements:
- LED Light Bars: Compact and energy-saving. Perfect for the contemporary kitchen.
- Puck Lights: Round, small, and ideal to be used as spot lights.
- LED Strip Lights: Flexible and easy to stick under a cabinet.
- Hardwired vs Plug-in: Hardwired systems are slightly more aesthetically pleasing to the eye, whereas plug-ins are simpler to install.
LED strip lights or plug-in bars have become the most convenient to work with in case you are trying a DIY project in Singapore.
Tools and Materials Needed
You will need the following items before you begin with the Under Cabinet Lighting Installation in the Kitchen:
- Strip or puck lights (LED under cabinet lights)
- Measuring tape
- Screwdriver
- Drill
- Wire strippers
- Electrical tape
- Power supply or transformer
- Connectors or wiring
- Screws or adhesive tape
- Level
- Safety gloves and goggles
Ensure that your lights are compatible with the 230V power system in Singapore. To save costs and at the same time save on energy consumption, it is best to use LED lights, which are energy-efficient.
Step-by-Step Guide to Installing Under-Cabinet Lighting
1. Plan Your Layout
To calculate the number of lights you will need, measure the underside of your cabinets. Determine the location of the lights to achieve an even level of illumination. In Singapore kitchens, emphasis is placed on work zones, including the prep area, sink, and stove areas. Using a pencil, mark the locations, and a level will help in achieving straight alignment.
2. Choose the Right Lights
Under-cabinet lighting in the kitchen is often done using LED strip lights or puck lights. Strips give uniform illumination, and puck lights give spot-light effects. In the humid climate of Singapore, we recommend IP65-rated lights that would help in resisting moisture. View the lumen output as a measure of brightness. 800-1000 lumens per meter is suitable in most kitchens.
3. Turn Off the Power
Safety first! Switch off the power at your circuit breaker before starting to install under-cabinet lighting. Make sure that the power is off using a voltage tester. This avoids electric shocks, particularly in high-voltage houses in Singapore.
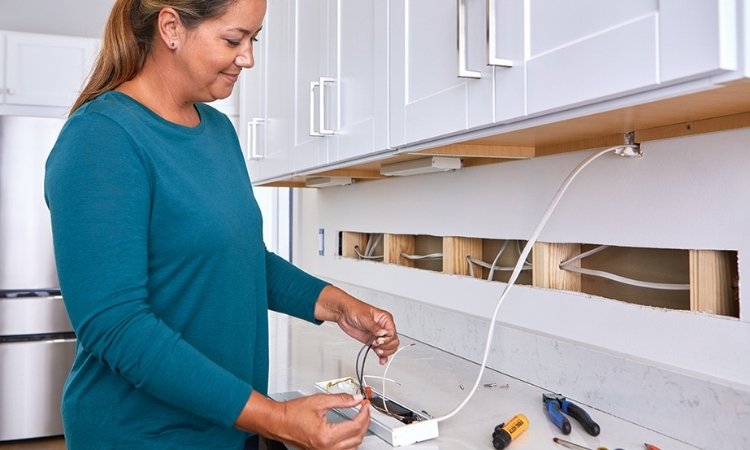
4. Install the Lights
For adhesive-backed LED strips, peel the backing and tape them on the underside of the cabinet. With puck lights or non-adhesive strips, simply drill small pilot holes and screw them in place, or use mounting clips.
Make sure that the lights are spaced evenly. In the event of hardwiring, connect the lights to the transformer or power supply according to the instructions of the manufacturer.
5. Connect the Wiring
If your lights need wiring, strip the wire ends and connect them to the power source. Use connectors or terminal blocks for a secure and easy connection. Electrical tapes should be used to cover wires to prevent accidents. With plug-in lights, you just need to plug them into a nearby socket. In Singapore, ensure all wiring complies with local electrical codes (e.g., SS 145 for sockets).
6. Test and Adjust
Reconnect the power and switch on your lights. Make sure there is even brightness and adjust any misaligned fixtures. When installing dimmable lights, make sure to test the dimmer so that it functions well. Fine-tune the positioning for the best lighting effect.
7. Secure Loose Wires
Neatly organize the loose wires by using cable clips or stick-on cable organizers. This ensures your kitchen is tidy and avoids accidents. Either conceal the power supply or transformer behind cabinets or in a nearby drawer.
Conclusion
Making your kitchen feel brand new does not mean you have to knock down walls and get a full renovation team. The moment you install under-cabinet lighting, you create an instant impression on your kitchen in terms of appearance, illumination, and utility.
Make the decision between strip lights and LED bars, DIY or professional installation, but the results will be worth it. Therefore, when you want a little remodeling that makes a difference, just go ahead and install under-cabinet lighting in the kitchen in Singapore. You will be amazed at how it can change your space.