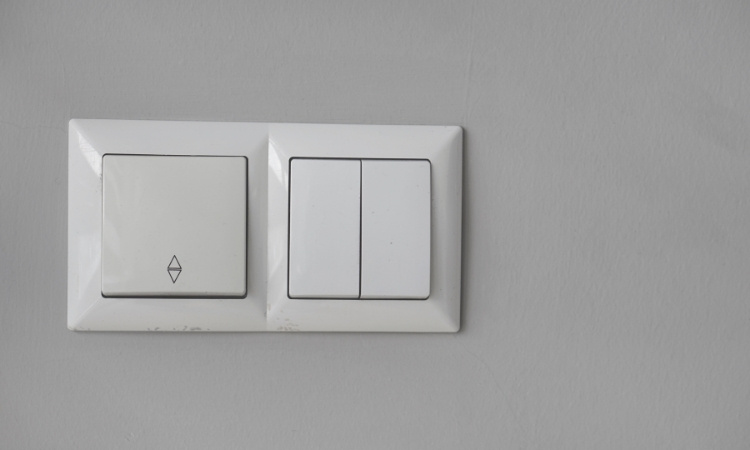
The light switch button is an integral part of our daily lives in Singapore because every other home has a lighting system that is fully controlled by light switches. But when the light switch becomes unresponsive, loose, or stiff, it keeps you from turning your lights on and off.
Other than that, if you can smell burning, hear noise, or notice any fire, then it could also be dangerous for you and your loved ones. So, how to fix a light switch button in Singapore? We’ll learn that step by step, so you don’t have to spend on replacing the whole switch, which would cost you a lot.
LS Electrician Services Singapore explains how to fix a light switch button in Singapore. It is important to note that their professional distribution box installation, switch installation, and fan installation and repair services need no introduction in Singapore.
Why Fix the Light Switch Button?
Some people in Singapore don’t care about fixing their faulty switch button. They let it stay like this without realising the hidden safety hazards, and of course, putting up with the inconvenience that it causes.
These are the reasons why fixing a light switch button is crucial:
- It keeps your home safe from electrical fires.
- You won’t get random shocks when turning the lights on.
- Your lights work properly without flickering or acting weird.
- It stops your electricity from being wasted by faulty wiring.
- You won’t have to deal with the annoying switch not working.
- It prevents the issue from spreading to other parts of the circuit.
- Your place looks cleaner and more well-kept without broken switches.
- You avoid last-minute emergencies when guests are coming over.
- It saves you money before the damage gets worse and more expensive.
How To Fix a Light Switch Button in Singapore?
If you want to fix the light switch button in Singapore yourself, then this is the guide that you need to follow:
Step 1: Turn Off the Power First
One mistake that we often see people making is that they never turn off the power first. They immediately get into fixing the light switch button, which puts their life at risk. You wouldn’t want to do that.
So, please, head over to your circuit breaker and then switch off the power to the room where you want to fix the switch. This will ensure you’re safe throughout the process. Also, after turning off the power, flip the switch a few times to ensure that the power is indeed off.
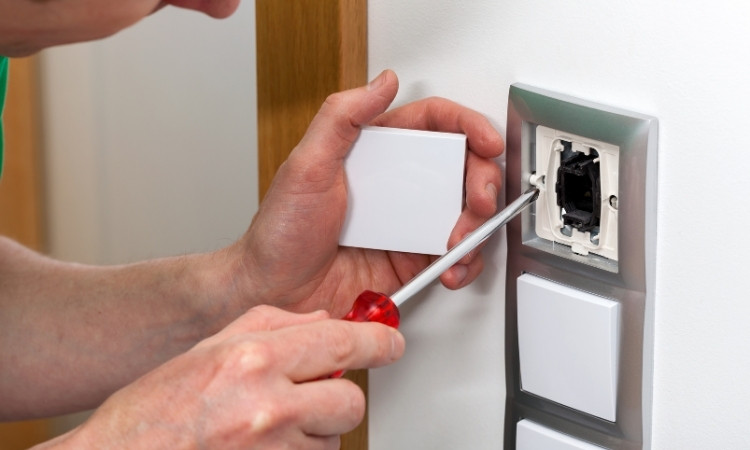
Step 2: Unscrew the Switch Cover
When the power is off, get a screwdriver and then remove the screws on the light switch cover. It’ll be quick, as there are only two screws holding the plate in place. Gently take off the plate after removing the screws, and be slow doing it so you don’t cause any damage. Sometimes, the cover may be stuck and won’t come off easily. Wiggle it a little, and then you’ll be able to move it.
You’ll then see an actual switch mechanism underneath—that’s basically the main part that makes the whole switch work.
Step 3: Check for Loose or Burnt Wires
It’s time to closely look at the mechanism, its wires, and whether they’re blackened, burnt, loose, or smell weird. If you find any of these issues, that’s what’s wrong with your switch button. Over time, the wires can loosen, and due to any electrical shock, the wires may also burn out. If you see any wire hanging out or not fully connected, that may also be the issue. So, tighten them up.
Step 4: Tighten or Reconnect the Wires
Pick up the screwdriver again and tighten the wire screws on the sides of the switch. If the wire is loose, slide it back into the terminal and screw it tightly there. Make sure that the copper part of the wire isn’t exposed and is fully closed, as it’s a safety hazard.

Step 5: Replace the Switch If It’s Damaged
Sometimes, the switch is totally broken or damaged, and you can’t do anything about it other than replace it. For that reason, get a suitable switch button from the local market or online, and then replace the old one with it.
Match the wires to the same spots as the old one and then screw everything back in place as it was. If you don’t know how to do it or you think you may make it worse, it’s better to seek professional help.
Step 6: Screw the Faceplate Back On
Once everything’s fixed and the switch feels solid, place the cover plate back on. Line it up properly and tighten the screws — don’t overtighten or you’ll crack the plastic. Make sure the switch button isn’t stuck or sunken. It should press smoothly without any weird movement.
Step 7: Turn the Power Back On and Test
Now, go back to the circuit breaker and flip the power back on. Try the switch and see what happens. If the light comes on and the switch feels normal, congrats—you just fixed it! If the issue is more complex, like there’s noise, a smell, or sparks, then call a professional to repair the switch button in Singapore.
Final Words
How to fix a light switch button in Singapore? That’s easy. Turn off the power at the breaker, unscrew and remove the switch cover, check for loose or burnt wires, tighten or reconnect wires if needed, replace the switch if it’s faulty, screw the cover back on, turn the power back on and test the switch.